17-5 Painting the satellite receiver & spaceman (complete)
Hi guys, this part is the final tutorials & progress as I commited. And this is the 53th article (wow I can't figure out why so many processes on one project) . It may spend much time for loading 'coz of lots of photos I posted (I even try to skips some photos already ^^) This tutorials may be useful for anyone who aim to use decals for your figures & some technics e.g. how to paint more after air brush etc. OK, let see.
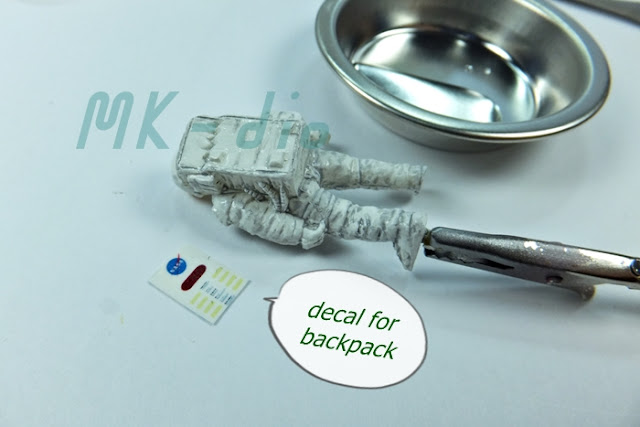
by this Mark softer will make decal softer, but have to set position quickly
in a few seconds.
The solid lacquer is a must for touchable part, due to gerneral lacquer
would not be reliable.
__________________________________________________________________________________
From this concept at begining I aim to have torch on Optimus's eyes, but finally I've found that it doen't work for eyes reflection. That is to say, if he can be torch then he will got not a nice eyes when turning on the light. Then I considered I should keep his nice reflection eyes more than torch. So he can't be torch at last.
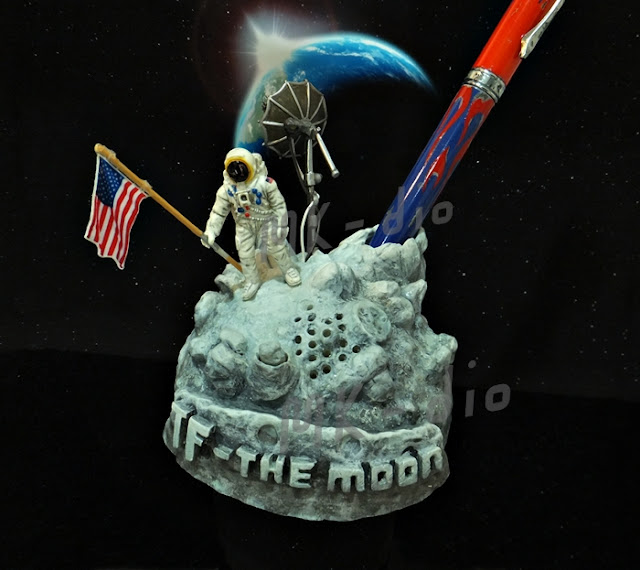
The concept of putting SMD LED on to Satellite receiver is to represent the sun shine.
Once we turn on the switch at front of the moon, you will see that it looks the same as sun shine now.
Hope you guys enjoy this final tutorial, for the sounds you will see in video clip
on next part.
Thanks for watching, any comment or anything to improve my skill,
pls feel free to let me know.
Merry Christmas. Hope the season finds you in good cheer.
MK-dio


No comments:
Post a Comment