Oct 30, 2012

Optimus Prime Pen on the moon base... Part15-2

15-2 Assemble Optimus Prime head, chin, light module (continue)
Hi! it's been a few days no update, due to this part was a bit complicated to me. To make it precision needs some times.
Previously we did insert electronics module into pen, now we will insert pointer & LED light onto Optimus prime head and connect wires together. This is quite challange. Let's see.

the 2 pcs on the right will be fixed into Optimus's head.  

to consider this head, if we put LED light inside (eye position) The light will emit on whole face. To control the ligth only emit around the eyes,
I use black color to cover the head inside. 

 Flat black is suitable, paint both side of head.


 finished painting both sides.

 Due to LED light size 3 mm is not able to fix well by the curve of eye not support to. Then I grinded by using 3 mm of ball diamond point.

prepare the hole for laser pointer shoot out (2.5 mm) 

at back side, prepare the support (6mm).

 then you may have question like how to know align pointer module to the center
of the hole we've just prepare? I got the answer on below.

 use toothpick size 2.5 mm, insert through this hole (forehead) to reach pointer module. Then pull toothpick and module back together close to forehead until pointer touch forehead inside. I'm sure we got the align position at the moment.

  If everything is all right, put some silicone sealant around toothpick and do
the above method again.

 look on top view, adjust toothpice and module together till toothpick got 90 degree
as photo.

side view also need alignment. And I decided some angle go up a bit. 

 If it's correct, fix pointer with silicone again on top. insert super LED ligth fit to
position we prepared.


Once LED ligth are on the right angle, fix them by silicone too.

wait till silicone is completely dry. Bend each leg to connect +, -

connect wires together.
 then we will have 2 more wires now. 

 seal them all as photo.

look at front, we can see pointer on forehead, super LED light on his eyes.

insert a group of wires pass through the hole of back piece. 

 now finished the head module.

assemble chin to pen, wires pass through the hole of chin. Pivot is press fit into the Pen hole. 

 4 wires each part will be connected.


 Keep all wires inside head (back piece)

 back side view
 to check if our module work by inserting battery.

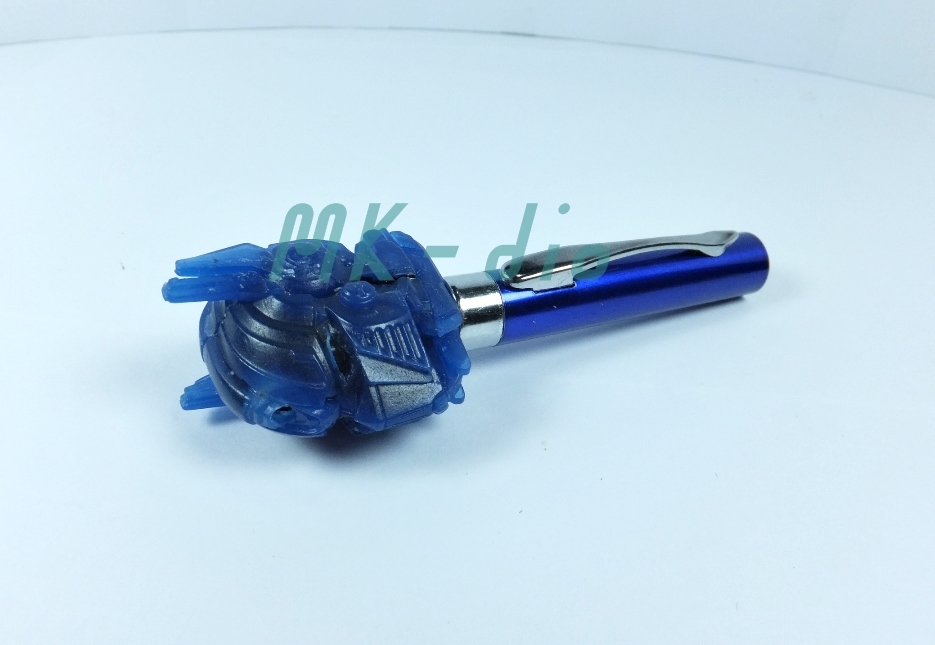
This is what the pen looks. 

 press the lower button to turn on LED light

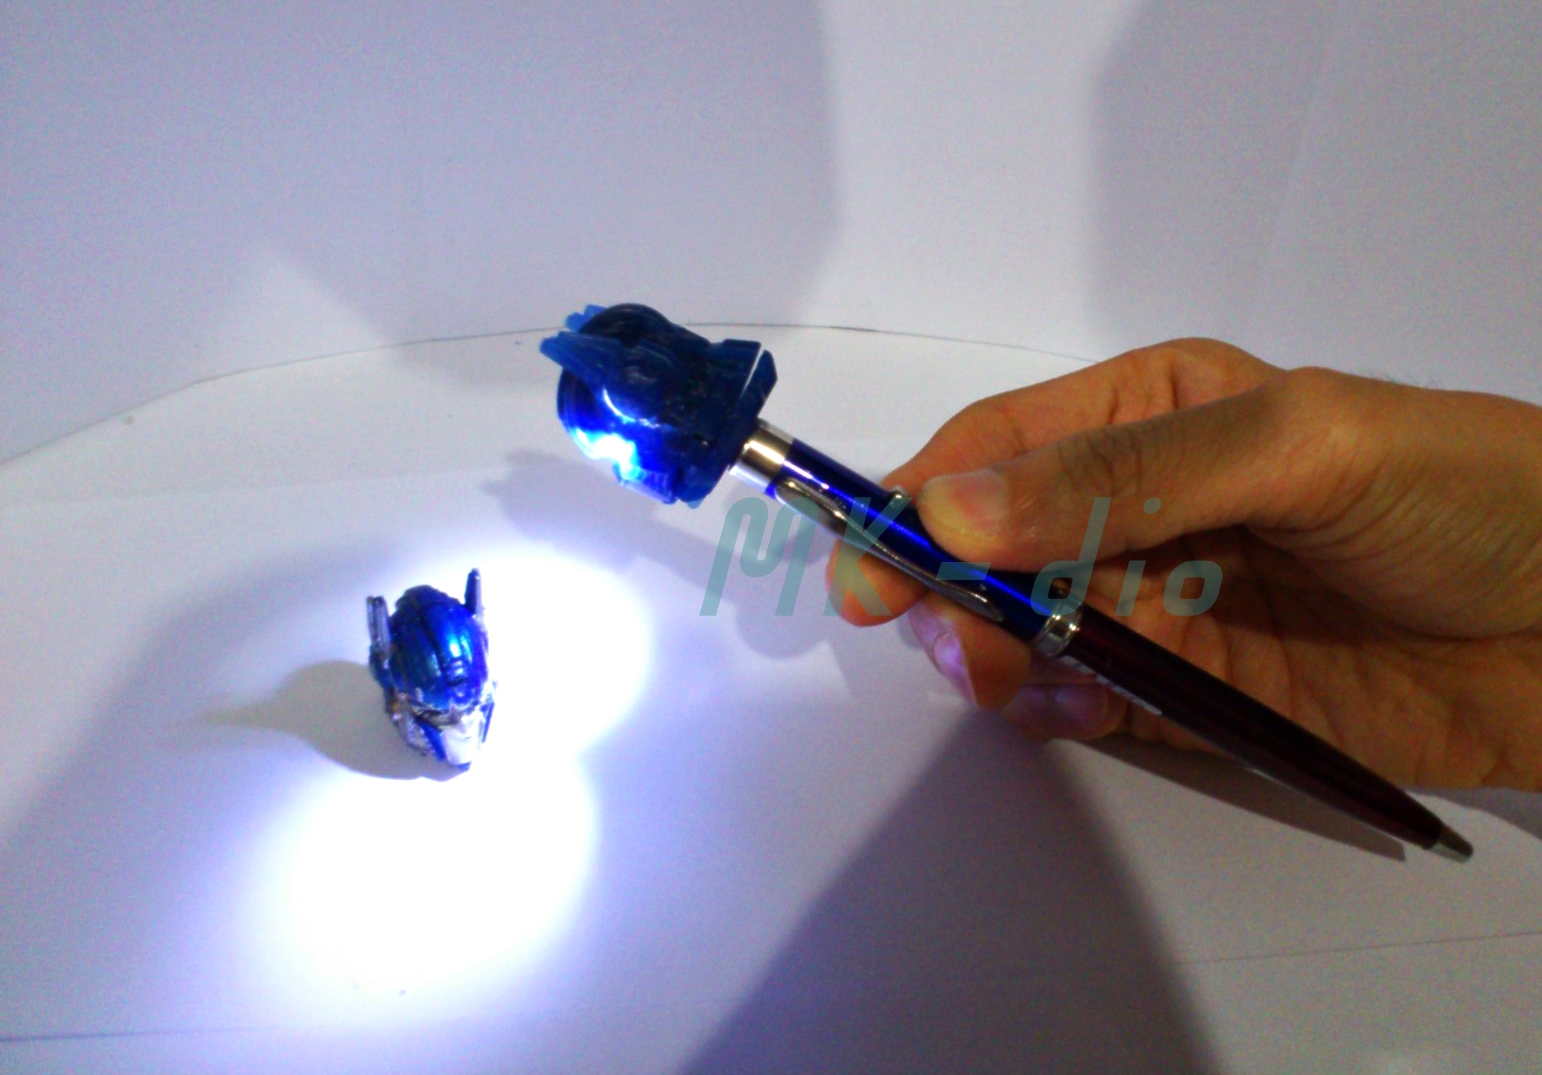
 with the 2 super bright LED given high emit with low battery consumption. The light profile look like profile of number 8

 Press the upper buton to turn on laser pointer.

The maximum distance is around 200 meters
(from one building to another building etc.)

Ok for this part today.
From now on will be all about painting process (waiting to see right?)
So next part (part16-1) will be painting Optimus prime head and pen...
what should I paint the pen??? Tik Tik Tik, well let see...soon

Hope you all enjoy this part as long time waiting for.
sorry if I can't expedite it as I wished.

Thanks for watching
Bye for now... ^^

Oct 26, 2012

Optimus Prime Pen on the moon base... Part15-1

15-1 Assemble Optimus Prime head, chin, light module
Hi guys! I've spent a long time for update this part because it's the last difficult part to me. Due to this pen is designed by modification less. That is to say all components are fixed and press tightly by m/c. To disassemble component without damaging parts (part 1) is quite hard, but to assemble it back after parts are modified is even more difficult. To adjust length of each part needs much precise e.g. all adjustable lenght are related to battery set that will not work if total length are not correct. what's more I can't find any tools to work inside this pen Gosh! ...no more complaint ^^... let's see,

 previously, we got this chin by resin process. now press it tightly into big hole of pen
(do not forget, small hole is for a group of wires)

 remember keep the clip of pen on left side.
Now press the Optimus Prime head into pivot.

to compare before and after adding chin. what do you think? before is better? ha ha
I accept if it is, but the chin is not only for appearance, but also for stronger
to hold the head on pen. 

To see the oblique view 

side view 

back view 

 compare to a poster.. do you like it then?

it would look like this. I will keep the blue on top part and red on bottom, but not this tone color due to they are not correct Optimus Prime color. I'll need to repaint with
the corrct colors. 

 Now turn back to circuit. the left side will be set inside head, the right side will be set inside the pen. The issue is the right side that was modified,
then to resume it back is not easy.

 prepare this module by twist wires.

Once we loose the located part (LED & laser pointer) from circuit. We need to find something to locate and to hold this module as well as the same function. I select the black part (which is the supporter of button battery) from another pen 
to hold left side of module. Silicone sealant is good for this purpose.

 Once we loose a part of circuit, we need to compensate the wire(+)
to connect to gorund(+)

 do the same as left side.

 an important is the allignment must be straight. Due to the gap is almost zero mm between pen hole and this module.

 start with the 2 button, insert them by this way.

 place them to their position. then flip the pen down, take stick out.

Now consider how deep that this module will be inserted, as measured = 6.5 mm 

look at the circled mark, this part will be hit to button and no move anymore. 
We need to solve it. 

I remove some exceeding part (5 mm is enough) 

Once insert module in, check the distance that must be 6.5 mm. If it's over,
you need to rework. 

 6.5 mm. looks like this.

During insert module, you also need to arrange a group of wires to go through 
the small hole.

Now I think 50% of the difficult is passed, and will ensure once the light is workable.

So next part (part15-2) will continue from this wire to the Optimus head.
And test function

... excited ahhh???

Hope you all enjoy...
thanks for watching

Bye Bye... :)