It seems 3 days without update. Because I'm busy for other things and buying something more for this custom. Ok now I"m back... ^^

Refer to picture above (from part8-2). Now we're fixing this switch
to back side of the moon.

The shaft above will be fixed onto resin. To work easily, I need to pull it out.

take it out carefully, otherwise you may damage the locker inside of slots.

from my storage, I select the 1.7x5.0 mm of screw to match shaft.

mark the position of screw
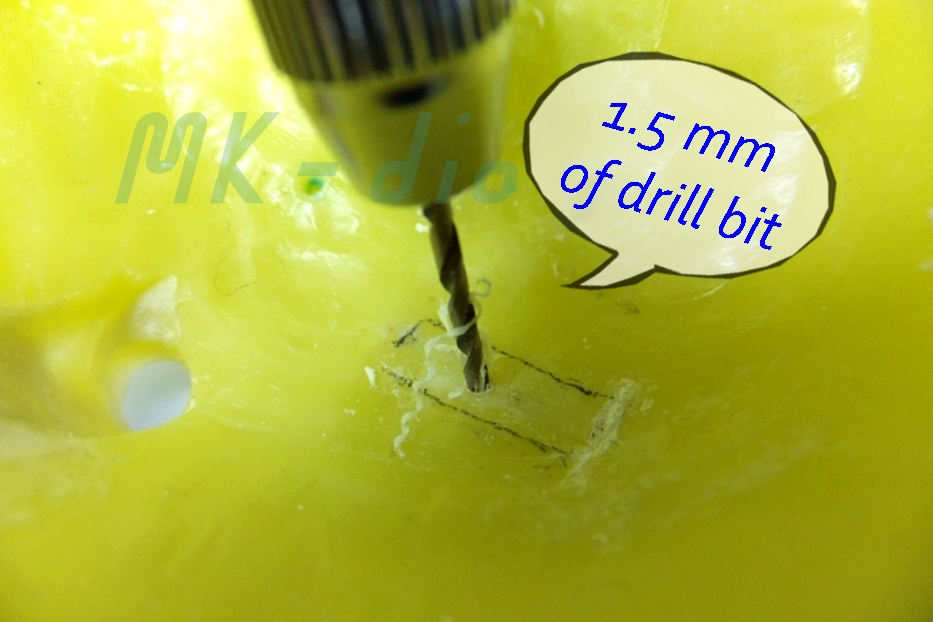
start driling since 0.8mm. till 1.5 mm.
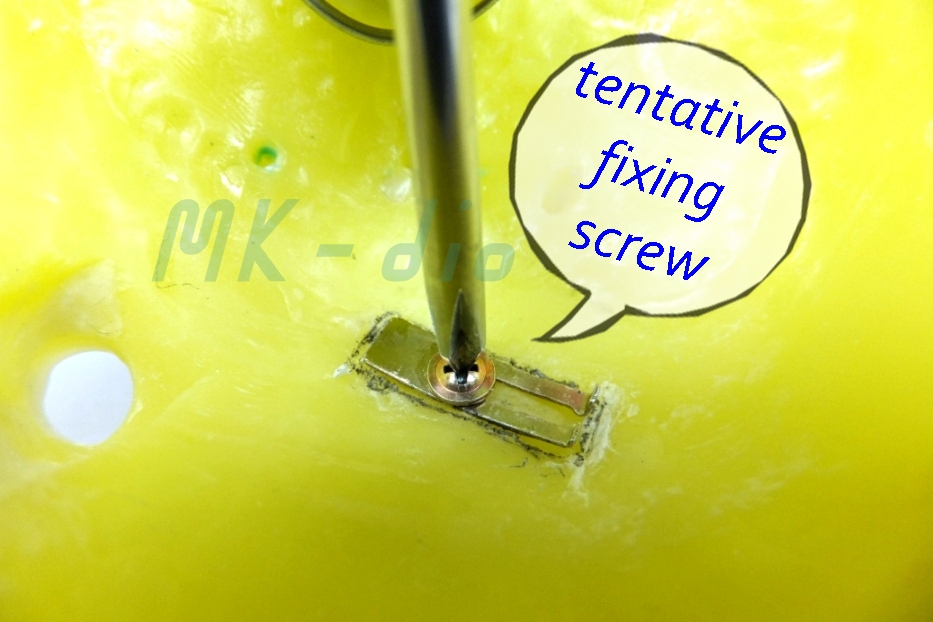
try to fix screw on it, but not as tight.

Due to if we look at picture above, switch won't work, as screw will always hit to black part, while actualtor (red button) is unpressed.

To solve this problem, just reshape the shaft. But I will make the rough surface for
the better fixing performance.


Use round pliers to bend shaft as convex shape

make sure both shaft are parallel.

place the switch into the shaft.

Check if it works. If there is no probme, we are making the holes for speaker out.

Firstly we have to know the certain position of speaker by assemble all components in.

Next is the module of The Optimus Prime.

Battery socket at last, now I see some overlap. that seems battery socket is
a bit too wide.

If you ensure the position of speaker, then mark the front side the hole layout
as your desired.

start as a small size e.g. 0.5-0.8 through hole

1.2 mm. at last

I always make chamfering.

then the exceed part ( I knew once I assemble them) will be removed.

All holes must have angle straight right through the center of speaker for the
best sound transferring.

do not make the chamfering at front.

Now remove the exceed part.
Now we're finished fixing switch of space man.
Next part, I'll work on fixing switch of Satellite receiver
that is not quite easy, but let's see.
hope all presentation about this make you enjoy.
Thanks for watching
Bye for now... ^^
No comments:
Post a Comment