We are now still making prototype of bottom cover, to make it by plasticine is the most convenient because it must be cut as contour taper. And it is also easy to decorate. Are you ready? Go!


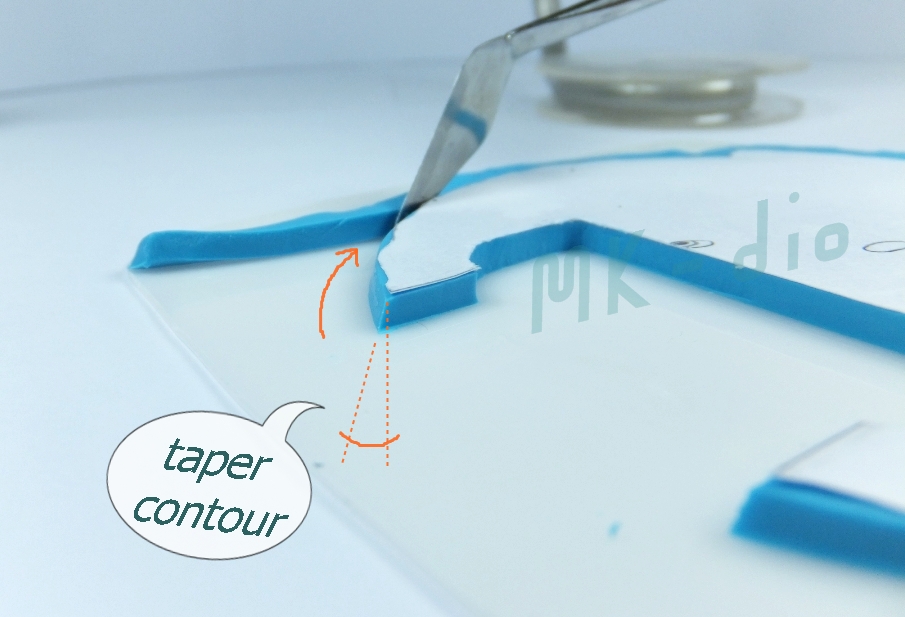
From the offset remaining, cut it as taper
(how much of an angle? just look at the bottom of the moon)

To be easy, I recommend the first cut at the end of contour.

Now start cutting as this profile, but don't forget to keep it taper.

Once finished contour cutting, make the cut of each curve.

decoration as per desire, but just keep the same thickness.

To check if there is taper by look at top view.

ready to check your prototype? down the moon onto it.

It looks ok for me.

To see next side, still be OK.

This is an angle that I mention before, it looks better than the vertical cut right?

To check slot that we've just opened for slider if it's correct on size

When you ensure that prototype is correct, make texture same as the moon.

Fine sand should be applied onto it. Do not need to press sand to plasticine.

How does it look like?

Close up to see texture.

Now the paper will not need anymore. So remove it carefully.

This side is complete. It's ready for making silicone mold.

I use the previous PP-board of the moon silicone, if it's difficult for you.
You can cut it down to ~ 40mm height.

more offset more easy for resin process, but waste on silicone.

If you are ok with offset layout, mark outer profile of PP-board.

This path will be outer of plasticine path we're making.

This path is sealant for PP-board wall to protect silicone leak out.
I think now you have some idea on how to make the cover as you desire more or less
Hope you like it.
Next part we will pore silicone together. OK?
Thanks for watching.
Bye for now... ^0^
No comments:
Post a Comment